Exposed Aggregate Concrete Patio Built to Last
A backyard patio should not become the place where water pools after every rain, chairs wobble after two summers, or cracks spread from the house outward. An exposed aggregate concrete patio gives a yard a textured, natural stone appearance, but its long-term performance still comes down to the work underneath it: excavation, base preparation, reinforcement, thickness, joints, and drainage.
For homes across Covina, the San Gabriel Valley, northern Orange County, and the Inland Empire, the finish is only one part of the decision. Heat, irrigation, occasional hard rain, expansive soil, and pool use can all affect how a patio performs. A good installation is built for those conditions before the decorative aggregate is ever exposed.
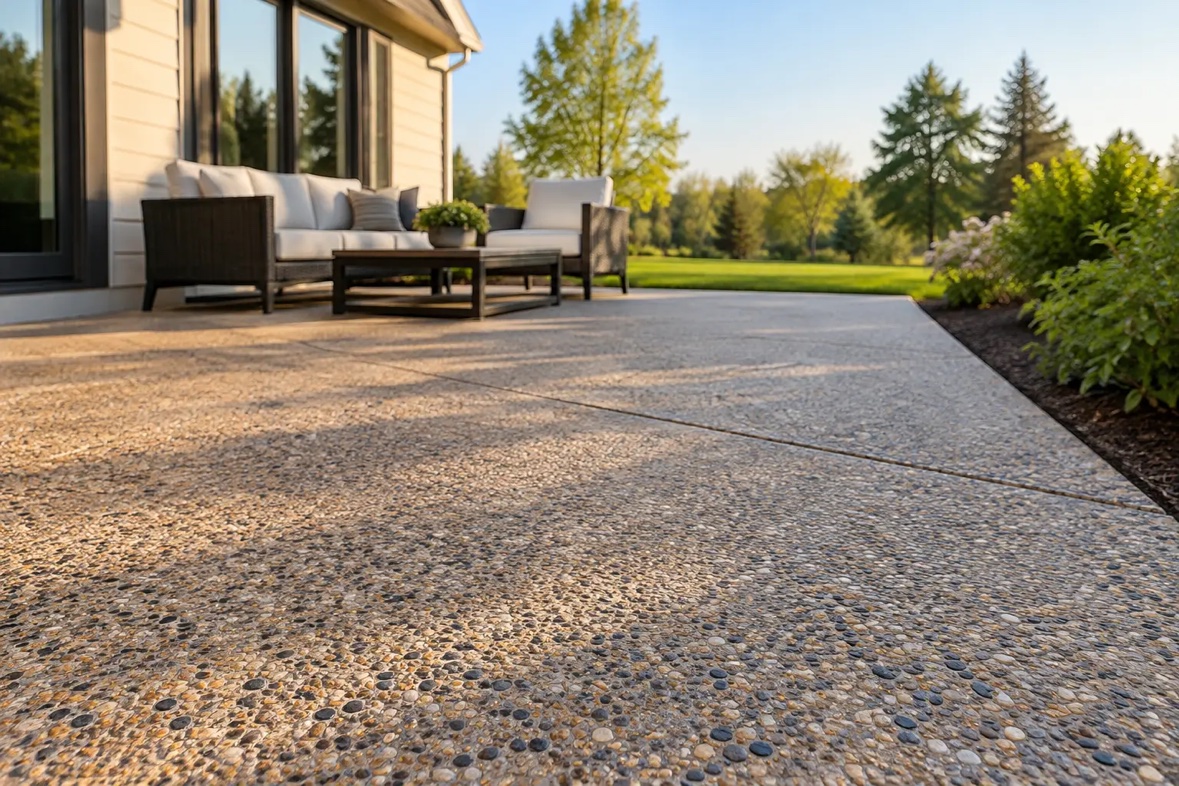
What Is an Exposed Aggregate Concrete Patio?
Exposed aggregate is a concrete finish that reveals the decorative stone within the slab. Instead of leaving a smooth cement surface, the contractor removes a thin layer of surface paste after placement so the aggregate becomes visible. The result has more texture than standard broom-finished concrete and a different look from stamped concrete.
Aggregate can range from small, rounded pebbles to more angular stone, with colors that may include grays, tans, browns, blacks, and blended earth tones. The mix matters. A patio with a consistent, well-selected aggregate reads as intentional and finished, while an uneven exposure or poorly chosen stone can look patchy.
This finish works especially well around pools, outdoor kitchens, covered patios, walkways, and backyard seating areas. Its texture can provide better footing than a hard-troweled surface, although no outdoor surface is completely slip-proof when wet. The right aggregate size and exposure level should fit how the space will be used.
The Structure Below the Finish Matters More
A decorative surface cannot correct a weak slab. If the patio is placed over loose soil, poorly compacted fill, or an area that drains toward the house, the exposed stone will not prevent settlement or cracking. It may simply make repairs more noticeable later.
Start With Excavation and Base Work
The patio area needs to be excavated to allow for the planned slab thickness and a properly prepared base. Soft spots, organic material, loose fill, and roots should be addressed before concrete placement. Depending on site conditions, a compacted aggregate base may be needed to create a more stable, uniform support layer.
There is no one thickness that fits every backyard. A light-use patio and a slab supporting a built-in barbecue, heavy planters, or an outdoor structure do not have the same demands. The grade, soil, access, and planned use should determine the build, not a one-size-fits-all price.
Reinforcement Helps the Slab Work as One
Concrete is strong under compression, but it can crack when soil movement, shrinkage, or loading creates tension. Reinforcement helps manage that movement and keeps a crack from becoming a wide, uneven separation. Rebar placement, spacing, and support matter. Steel left on the ground does not reinforce the middle of the slab where it needs to work.
Reinforcement does not promise a crack-free patio. No honest concrete contractor should make that claim. Concrete naturally shrinks as it cures, and Southern California soils move. The goal is to build a slab that handles normal movement better and to place joints where cracking is most likely to occur.
Control Joints Are Planned, Not an Afterthought
Control joints create intentional weakened planes that encourage shrinkage cracks to form in straighter, less visible lines. On an exposed aggregate patio, joint layout deserves extra attention because it becomes part of the finished appearance.
A clean joint pattern can frame seating zones, line up with steps, follow patio geometry, and break up large areas. Random or poorly timed joints can leave the slab looking unfinished even when the aggregate itself is attractive. Joint depth and spacing should be based on the slab layout, thickness, and shape.
Drainage Should Be Settled Before the Pour
Most patio failures start with water, not the decorative finish. Water that runs toward the home can create more than an inconvenience. It can saturate soil near the foundation, stain walls, undermine adjacent improvements, and leave the patio slick or dirty.
The finished patio should be graded to direct water away from structures and toward an appropriate drainage path. That may mean a subtle slope across the slab, a drain system in a low area, or changes to the surrounding landscape. The needed solution depends on the yard. A flat-looking patio can still drain correctly, but it cannot actually be flat.
Irrigation is another practical concern. Constant overspray leaves mineral deposits, encourages algae in shaded areas, and can discolor both exposed aggregate and surrounding hardscape. Before construction starts, sprinkler heads and drainage patterns should be reviewed as part of the site assessment.
Choosing the Right Aggregate and Edge Details
Exposed aggregate has a broad range of looks. Small aggregate often creates a more refined texture, while larger stones make a stronger visual statement. Rounded river rock feels softer under bare feet than sharp crushed stone, which can matter around a pool or lounge area.
Color should be viewed against the home, not selected from a sample alone. A warm tan blend may work with stucco and tile roofs, while charcoal and gray aggregates can suit contemporary exteriors. Keep in mind that very light finishes can show dirt and leaf stains, while very dark finishes can feel hotter in direct sun.
The slab edge also needs a decision. Some patios use a clean formed edge, while others transition into planting beds, turf, pavers, or a pool coping detail. An experienced crew plans these transitions before the concrete truck arrives. Trying to solve them while concrete is setting leads to rushed work and uneven results.
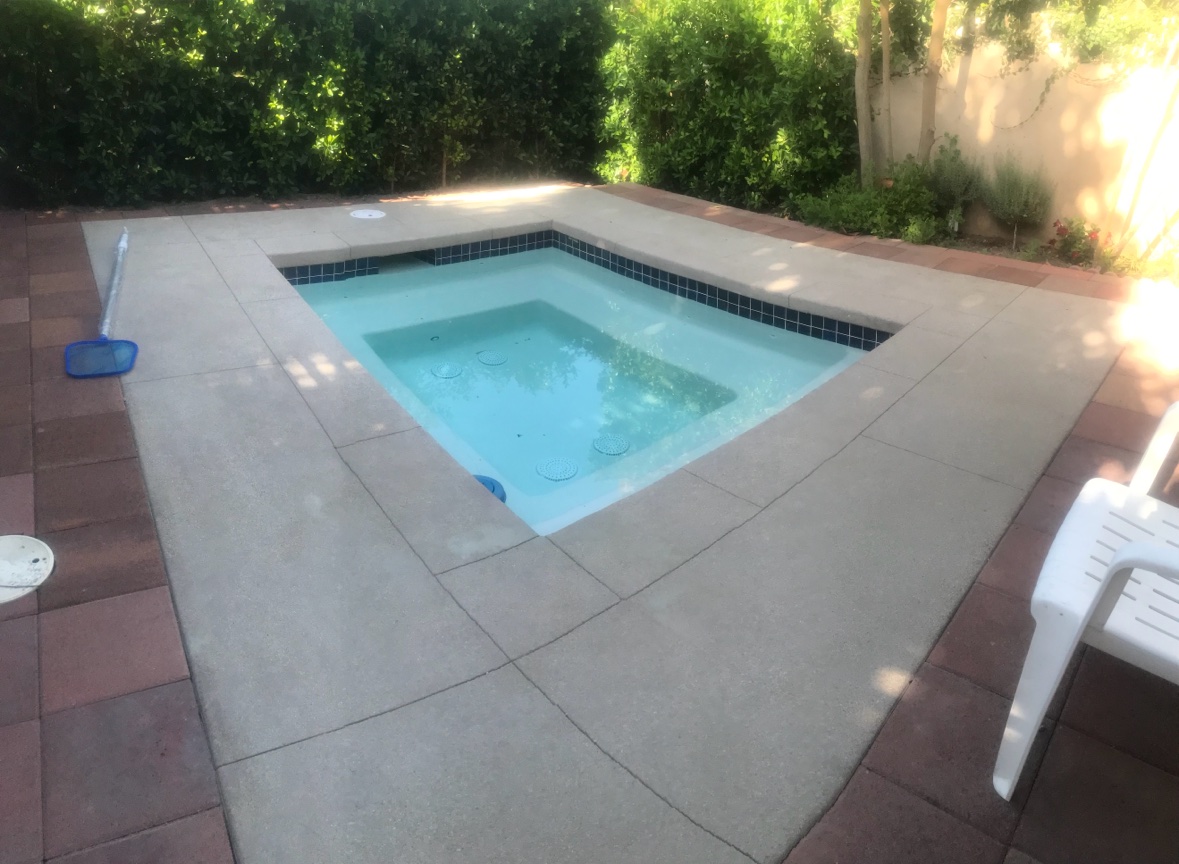
How the Exposed Aggregate Finish Is Created
There are two ways to build an exposed aggregate patio. The method J. Ortega Concrete uses is the broadcast (seeded) method — it delivers the cleanest, most even exposure at the best value.
The slab is poured and screeded as normal — J. Ortega Concrete uses a 2,500 PSI mix for exposed aggregate. Higher-PSI mixes carry more cement cream, which means more paste to wash off. The 2,500 PSI mix keeps the cream layer thin, so the exposure comes cleaner and faster. This is an elegant finish for homes and walkways — a beauty treatment — to give your home an old fashion look and it has some sparkly pieces that you can see when the lights shine or you can add a coat so it can really sparkle. While the concrete starts to firm up, the decorative aggregate is broadcast evenly across the surface. The broadcast stone is what gets exposed. (The exception is an acid and washed finish, where no new rock is introduced.) The crew floats it once, lightly, to embed the stone — then stops. That restraint is the whole skill: every extra finishing pass brings sand and cement paste up over the rock and buries it.
Low spots are never corrected with more concrete because you'll introduce more sand on top of the rocks with the float. They are filled by broadcasting more aggregate into them, carefully. Then a Top-Cast surface retarder is applied evenly once it sets. The retarder grade usually 5 sets the exposure depth — it determines exactly how much surface paste the wash will remove. For acid and washed finishes it's 1 and 3. Once you have applied the top cast you have to wait 3 hours and no longer than 12 hours to remove it. Your new surface is washed to reveal the stone: clean, evenly using a broom and hose or a power washer depending on how hard it is to remove.
How that wash is timed comes down to three approaches.
The Top-Cast method uses a sugar-based surface retarder. The sugar delays the set of the top paste layer, and the product skins over from a liquid into a coating. That buys a wide work window: wash-off happens between roughly 3 and 12 hours after the pour. Miss that window and the coating starts hardening onto the concrete, getting harder to remove the longer it sits.
The wash and broom method skips the retarder entirely and has to happen right away. The crew works the fresh surface after you are able to walk on it without leaving shoe marks with a regular hose and a broom — the water loosens the surface concrete cement top layer, and the broom sweeps it free. Only the very surface releases, and the set time decides the depth: the longer it sits, the less comes off. In warm weather the window is tight — roughly 30 to 45 minutes before you can start washing for a sand finish, as little as 20 minutes for a full exposed aggregate. But cold weather stretches it dramatically: a hand-poured slab on a cold day can sit overnight and not be ready to wash until the next morning. Whether the concrete came from a truck or was mixed and poured by hand changes the timing too. The crew starts on the side that set fastest and works across, staying off any concrete too wet that you're going to make marks or dips. Take off too much and the finish is ruined; wait too long and the paste won't release at all.
The third approach lets the concrete set longer before removal — sometimes called an acid wash. The longer the surface sets, the more aggressive the removal has to be: a light set can still be loosened with the broom and hose, but a harder set needs acid to cut the cream. The process is the same at its core — wet the surface with an acid mix let it sit for 19 minutes then pour water and work it with the broom to loosen the top cream, wash it off — just with more set time behind it and, when needed, acid doing the heavy lifting. This one lives and dies on experience: how cold or hot the day is, how the mix is behaving, how far the set has gone. An experienced finisher reads all of that and knows exactly when to move.
Control joints are saw cut before any washing begins — this avoids doing any joining, so you're not disturbing your exposed aggregate.
Timing and weather still matter. Hot, dry, or windy conditions speed up the surface set and shorten the work window, which is one reason decorative concrete should never be treated as a basic pour with a finish added at the last minute. The plan needs to match the day's conditions.
Maintenance That Protects the Patio’s Appearance
An exposed aggregate concrete patio is low-maintenance, not maintenance-free. Sweep off leaves and soil regularly, especially under trees and near planters. Rinse away fertilizer, pool chemicals, and spills before they have time to stain. For routine cleaning, mild detergent, water, and a soft-bristle brush are usually enough.
Sealer can deepen the color, reduce staining, and make cleaning easier. The right resealing schedule depends on sun exposure, foot traffic, pool chemicals, and the specific sealer used. A shaded patio may develop organic growth, while a full-sun patio may show sealer wear sooner. Do not apply a glossy coating simply for appearance if the patio is frequently wet. Traction should remain part of the decision.
Avoid harsh acids and aggressive pressure washing. They can damage the exposed stone, weaken the surface, or create an uneven appearance. If a slab has cracking, settlement, or drainage problems, sealing over it is not a repair. The cause needs to be evaluated first.
When Exposed Aggregate Is the Right Choice
This finish makes sense for owners who want more visual character than plain gray concrete but prefer a durable, permanent slab over loose gravel or pavers. It is particularly practical for pool decks, outdoor entertaining areas, and side yards where texture and drainage matter.
It may not be the best fit for every project. If you want a very smooth, modern look, a light broom finish, integral color, or large-format pavers may better match the property. If the existing yard has major drainage issues or unstable soil, those conditions should be corrected before deciding on any decorative finish.
A reliable patio starts with a clear on-site assessment: measure the area, identify water flow, check access, discuss the intended use, and build the slab accordingly. J. Ortega Concrete approaches exposed aggregate work the same way as any structural flatwork project - built thick where needed, reinforced properly, jointed cleanly, and graded to drain.
Before choosing stone colors or planning furniture, make sure the patio has a sound base and a clear path for water. Those details are what let the finish keep looking good long after the first backyard gathering.
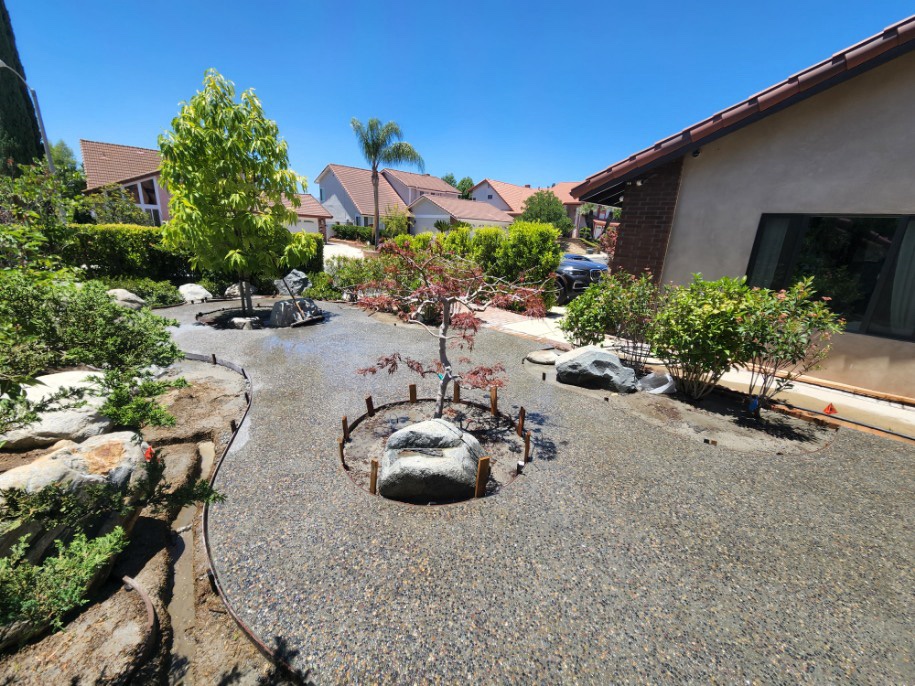
Thinking about an exposed aggregate patio? Call J. Ortega Concrete at (626) 404-8582 for a free estimate.
Call (626) 404-8582 for a Free Estimate
Related Services
- Concrete patios — patios, walkways, and outdoor living spaces
- Patio Spaces — patio, BBQ island, fire pit, fireplace, and seating wall
- Concrete repair — crack repair, cleaning, recoloring, and resealing